A picture alone cannot conclusively authenticate a $100 bill because it cannot show raised printing, ultraviolet fluorescence, transmitted-light details, or security features moving as the note tilts.[1] We first check that Benjamin Franklin and Independence Hall appear, then, on a current-design note, look for a woven blue security ribbon with moving bells and 100s, plus copper-to-green colour changes; a Series 2006 note can be genuine without the ribbon.[2]
Fake vs. Real $100 Bill: Quick Picture Checklist
When assessing a $100 bill, we can use a simple checklist to identify key features that distinguish a genuine note from a counterfeit one. The front displays Benjamin Franklin's portrait, while the back showcases Independence Hall. If either of these images is different, it’s an immediate indication of a fake[2].
Key Features to Check
Franklin Watermark: On a genuine note, the Franklin watermark should be visible from both sides. It appears to the right of Franklin's portrait and can be seen when held up to the light[2].
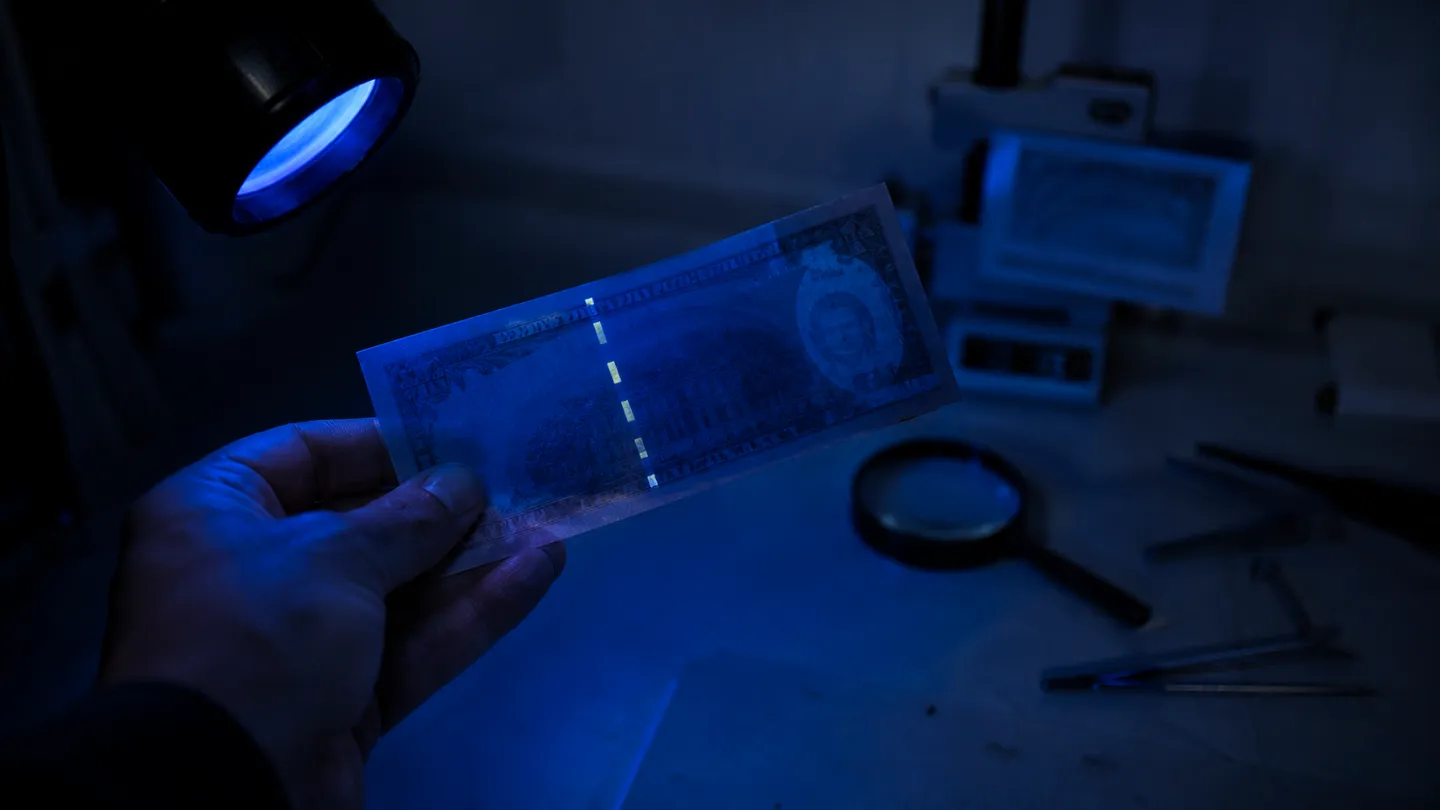
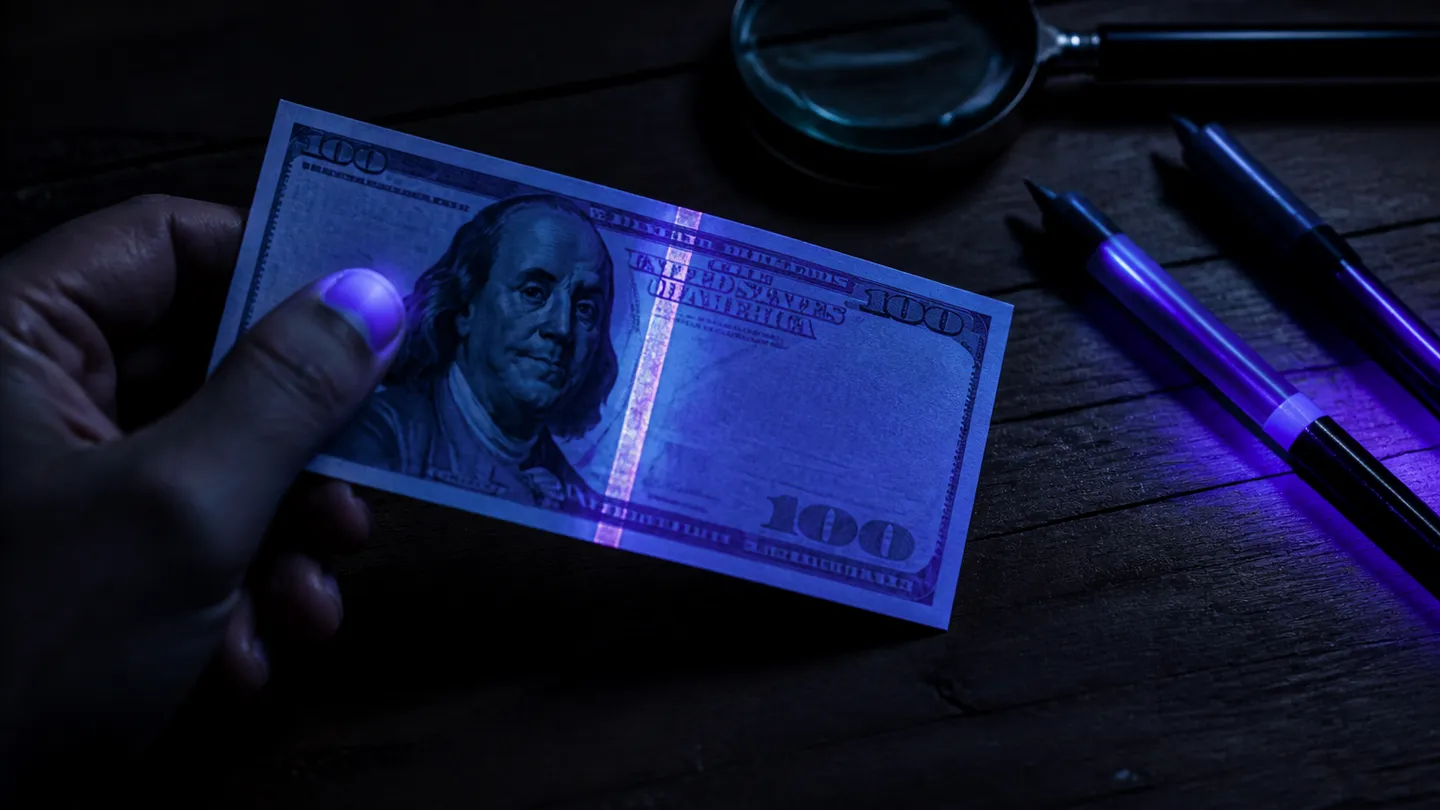
Security Thread: Genuine notes feature an embedded security thread that reads "USA 100" when held to the light. This thread should glow pink under ultraviolet light[2].
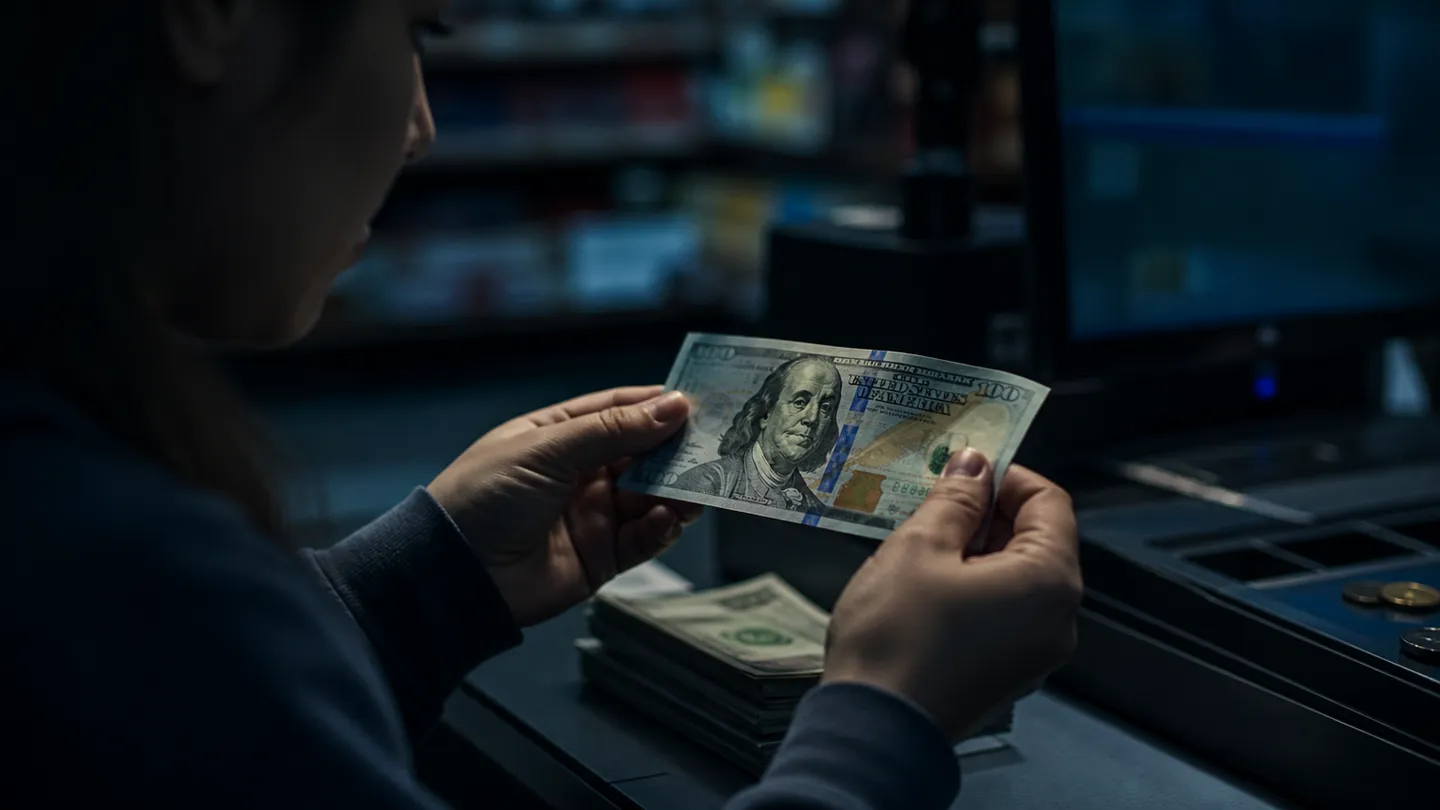
3-D Security Ribbon: The current-design $100 note includes a blue 3-D security ribbon woven into the paper. When tilted, the bells and the numbers 100 move side to side or up and down[2]. However, notes from the Series 2006 or earlier do not have this ribbon, so its absence alone does not confirm a counterfeit[2].
Bell in the Inkwell: Genuine notes will show a bell within a copper inkwell that changes from copper to green when the bill is tilted[2].
Colour-Shifting Ink: The lower-right numeral "100" on the front of the note shifts from green to black when tilted, providing another layer of verification[3].
Microprinting: Authentic bills have tiny printed text in various locations, such as around Franklin's collar and the borders. This detail often requires magnification to see clearly[2].
Being aware of these features can help us quickly assess the authenticity of a $100 bill. However, remember that a photograph cannot conclusively verify a bill's authenticity, as it cannot show tactile features or security elements that require movement[1]. Always combine visual checks with physical examination when possible.
First Identify Which $100 Bill Design You Have
To accurately assess the authenticity of a $100 bill, the first step is to identify its design. There are three main groups of designs to consider: Series 2009 and later, Series 1996–2006A, and pre-1996 notes. Each of these groups incorporates different security features, which can help us distinguish genuine currency from counterfeits.
Series 2009 and Later
The current-design $100 note, which entered circulation on October 8, 2013, features significant security elements. This includes a blue 3-D security ribbon that is woven into the paper. When tilted, the ribbon displays moving bells and the numeral "100" that shift in position, providing a clear indicator of authenticity[4][2]. Additionally, holding the note up to the light reveals a security thread that reads "USA 100" and glows pink under ultraviolet light, along with a visible Franklin watermark to the right of the portrait[2].
Series 1996–2006A
For Series 1996–2006A notes, the design lacks the blue security ribbon but includes other critical features. Genuine notes from this period will have a watermark of Benjamin Franklin and an embedded security thread, which should still read "USA 100" when held to the light[2][3]. The lower right numeral "100" will also exhibit colour-shifting ink, changing from green to black when tilted[3]. These notes are authentic but do not possess the latest security technology.
Pre-1996 Notes
Older notes, issued before 1996, might not include many of the modern security features. While they should still show a pink-glowing "USA 100" security thread and microprinted text around Franklin's portrait, they will lack the advanced features seen in newer designs[2]. It's essential to note that while these older notes remain legal tender, their verification process is less straightforward due to the absence of newer security elements[3].
Finding the Series Year
To determine which group your $100 bill belongs to, check the series year printed on the front of the note, usually located near the lower right corner. This year will help you match the bill's design with the expected security features. Understanding the design group is crucial before comparing your bill with images of genuine notes, as it sets the baseline for what features to expect.
By following these steps, we can better navigate the complexities of identifying a genuine $100 bill and enhance our ability to spot potential counterfeits effectively.
How to Check a New-Design $100 Bill (Series 2009 and Later)
To authenticate a Series 2009 $100 bill, we recommend following a simple three-step process: look, hold, and tilt. This method allows us to examine key security features that distinguish genuine currency from counterfeits.
Look
First, we should inspect the clarity of the printing. Genuine notes have sharp, well-defined images and text. Look closely at the portrait of Benjamin Franklin and the depiction of Independence Hall on the back. If either of these images appears blurry or mismatched, it’s a sign of a counterfeit[2].
Hold
Next, hold the bill up to the light. This step is crucial for revealing two important features: the Franklin watermark and the embedded security thread. The watermark should be visible on the right side of Franklin's portrait and can be seen from both sides of the note[2]. Additionally, the security thread will read "USA 100" when held to the light and should glow pink under ultraviolet light, although checking for ultraviolet light is not mandatory[2].
Tilt
Finally, tilt the bill to observe the blue 3-D security ribbon. This ribbon is woven into the paper and features moving bells and the numeral "100" that shift in position as the note is tilted[2]. Another important aspect to notice is the colour-shifting ink on the lower right numeral "100", which changes from copper to green when tilted[2].
By following this look–hold–tilt approach, we can confidently assess the authenticity of a Series 2009 $100 bill. Remember, while a visual inspection is essential, it is also important to feel for the raised printing, as genuine notes have a slightly rough texture due to the raised intaglio printing[5].
These checks, when combined, provide a solid foundation for determining whether a $100 bill is genuine.
How to Check Older $100 Bills Without a Blue Stripe
How to Check Older $100 Bills Without a Blue Stripe
When dealing with older $100 bills, specifically those from Series 1996–2006A and pre-1996 notes, it’s essential to know which features to examine to verify their authenticity. Each series has distinct characteristics that can help us identify genuine currency.
For Series 1996–2006A notes, we can look for several key security features. First, when held up to the light, the Franklin watermark should be visible on the right of the portrait and can be seen from both sides[2]. Additionally, there is an embedded security thread that reads “USA 100” when tilted to light and glows pink under ultraviolet light[2]. The lower right numeral “100” features colour-shifting ink that changes from green to black when tilted[3]. Microprinting can also be found around Franklin's collar and in other areas, although it may require magnification to see clearly[2]. It's important to note that these notes do not include the blue 3-D security ribbon seen in newer designs[2].
In contrast, pre-1996 notes lack many of the modern security features, including the 3-D ribbon. However, they should still contain a pink-glowing “USA 100” security thread and microprinted text around Franklin's portrait frame[2]. While the age of these bills does not invalidate their status as legal tender, verifying their authenticity can be more complicated due to the absence of newer security elements[3].
If you have doubts about an older note, we advise requesting verification at a local bank. This is the safest option when faced with uncertainty, as they can conduct a thorough examination using advanced tools and resources. Remember, the potential for counterfeiting exists across all series, and taking the time to check these features can help us avoid accepting fake currency.
Picture-by-Picture Warning Signs of a Fake $100 Bill
Identifying a counterfeit $100 bill requires careful observation of specific features. We can look for several warning signs that may indicate a fake note. Common discrepancies include a flat or blurry portrait of Benjamin Franklin, a poorly printed security thread, and static images on the blue 3-D security ribbon. Additionally, we should be cautious of indistinct borders and unreadable microprinting.
A genuine $100 bill features a sharp and clear portrait of Benjamin Franklin. If the image is unclear or appears flat, this is a strong indication of a counterfeit[2]. The current-design note includes a blue 3-D security ribbon, which should display moving bells and the numeral "100" when tilted. If this feature is static or absent, it's a sign of a fake[2]. The security thread should read "USA 100" when held to the light and glow pink under ultraviolet light, while counterfeits may have poorly printed or missing threads[2].
Microprinting is another key element. Authentic bills contain tiny text in various locations, including around Franklin's collar and the borders. If this text is unclear or missing, it suggests the bill may not be genuine[2]. Furthermore, a genuine note will exhibit colour-shifting ink; the lower-right "100" should shift from green to black when tilted. If this effect is absent, it's worth further investigation[3].
It's also crucial to be vigilant about serial numbers. If we notice identical serial numbers on multiple bills, this is a clear warning sign of counterfeiting. Each legitimate bill should have a unique serial number.
We should also be cautious of altered lower-denomination bills. Counterfeiters sometimes take genuine $1 bills and print $100 images on them. Even if the paper feels authentic and passes a counterfeit detection pen, it does not guarantee that the bill is genuine[6].
By being aware of these visual discrepancies, we can better protect ourselves from accepting counterfeit $100 bills. Always remember to combine visual checks with tactile examinations whenever possible to ensure authenticity.
What a Photo Can—and Cannot—Prove
A photograph can be a useful tool for assessing the authenticity of a $100 bill, but it has its limitations. We can compare the design, layout of elements, and print quality through images. For example, if the portrait of Benjamin Franklin or the depiction of Independence Hall looks different, that’s a clear sign of a counterfeit[2]. However, a photo cannot reliably reveal the texture of the paper, the tactile raised printing, the movement of 3-D elements, or features like the watermark and ultraviolet glow. These critical aspects require physical examination.
When taking photos for verification, we recommend capturing both sides of the bill in full, along with close-ups of specific features. It’s also beneficial to include shots taken against a light source to check for the security thread and watermark visibility. Photos should be taken from various angles and should not use any filters that could alter the appearance. For instance, to see the embedded security thread that reads “USA 100”, the note should be held up to the light[2].
Relying on images from platforms like Reddit, PDF files, or general web searches is not sufficient for confirming authenticity. These images often lack the necessary detail and context to make a reliable comparison. The most accurate verification comes from consulting official resources from the U.S. Currency Education Program, which provides guidelines and images of genuine currency. Authenticating a bill based solely on a photo is not conclusive, as many security features, such as the raised printing and ultraviolet fluorescence, cannot be demonstrated through an image[1].
By understanding what a photo can and cannot prove, we can better navigate the complexities of identifying counterfeit currency.
Common $100 Bill Myths and Misleading Tests
Several myths surround the identification of authentic $100 bills that can lead to confusion. One common belief is that every genuine $100 bill has a blue stripe. In reality, only the current-design $100 note, which entered circulation on October 8, 2013, features this blue 3-D security ribbon. Older notes, including those from Series 1996–2006A, lack this feature but can still be authentic[4][2].
Another misconception is that older bills are no longer accepted as legal tender. However, all Federal Reserve note designs issued from 1914 onwards remain legal tender, although businesses may choose not to accept them[3]. This means that even older designs can be valid, but their verification process can be more complex due to the absence of modern security features.
The idea that a counterfeit detection pen provides a definitive answer is also misleading. While these pens can be helpful, they can produce false positives, especially if a counterfeit bill has been printed on genuine paper, such as a modified $1 bill[6]. It's crucial to remember that relying solely on a pen can lead to mistakes; therefore, examining multiple security features is essential for accurate identification.
Lastly, some people mistakenly believe that the watermark on a $100 bill should depict the president. In fact, the Franklin watermark features Benjamin Franklin, who was never a president. The watermark is located on the right side of the note and should be visible when held up to the light[2].
In summary, we should verify several independent security features when assessing the authenticity of a $100 bill. This includes looking for the blue ribbon, checking for the Franklin watermark, examining the security thread, and feeling for raised printing. By doing so, we can ensure a more reliable evaluation of the currency we encounter.
What to Do If You Suspect a Counterfeit $100 Bill
If you suspect that a $100 bill is counterfeit, the first step is to avoid returning it to circulation. Do not confront the person who handed you the bill, as this could escalate into a conflict. Instead, take a moment to document where and when you received the bill, as this information may be useful later.
Minimise handling of the suspicious note to preserve any potential evidence. Once you have noted the details, it is crucial to contact local law enforcement or the nearest U.S. Secret Service office. The U.S. Secret Service is responsible for investigating counterfeit currency, and they can provide guidance on the next steps. If you’re a business, follow your internal procedures for handling suspected counterfeit notes, which may include notifying a manager or security personnel.
It's important to understand that determining the authenticity of a $100 bill cannot rely solely on online photographs. Features such as tactile raised printing, ultraviolet fluorescence, and the movement of elements like the 3-D security ribbon cannot be accurately assessed through images[1]. While photos can help identify obvious discrepancies, they are not conclusive.
In summary, if you suspect a counterfeit bill, remember to document the circumstances, limit handling, and reach out to the appropriate authorities. Taking these steps can help ensure that you handle the situation appropriately and safely.
Visual Matrix for Identifying $100 Bill Authenticity
| Series | Design | Security Feature | Photo Check | Physical Check |
|---|---|---|---|---|
| 2009/2009A | Current Design | Blue 3-D Security Ribbon | Check for movement | Must feel raised printing |
| 2006/2006A | 1996–2013 Design | No blue ribbon; colour-shifting ink | Check for colour shift | Must feel raised printing |
| 1996–2006A | Older Design | Embedded thread 'USA 100' | Check visibility in light | Must feel raised printing |
| Pre-1996 | Older Design | Pink-glowing 'USA 100' thread | Check visibility in light | Must feel raised printing |
Common Mistakes and Misconceptions
Treating the Printed Series Year as the Release Date
The dates are easy to misread. The current design entered circulation on October 8, 2013, although notes of this design show Series 2009 or 2009A[4]. We should identify the design family before deciding which security features belong on the note.
Comparing Different Parts of Two Pictures
People often compare the overall appearance, allowing a convincing portrait to distract from weaker details elsewhere. We advise placing a known genuine note from the same design family beside the suspicious bill, then comparing matching areas at similar magnification. Use a fixed order:
- Franklin and Independence Hall[2]
- The watermark and "USA 100" thread positions[2]
- Microprinting locations and border details[2]
Expecting a Still Picture to Show Movement
A sharp photograph may show the blue ribbon, copper inkwell, and lower-right numeral, but it cannot demonstrate how they react when tilted. On the current design, the ribbon's bells and 100s should move, while the bell and lower-right 100 should change from copper to green[2]. At a Seattle till, we would treat a picture as a screening aid and reserve these checks for the physical note.
Trusting a Counterfeit Pen or Genuine-Feeling Paper
A pen result can feel decisive because it appears to test the paper rather than the printed image. Yet a January 2025 federal case involved counterfeit $100 notes printed on genuine $1 bill paper, so paper feel or a pen alone could miss an altered-denomination note[6]. We should also require the denomination-specific Franklin watermark and embedded thread reading "USA 100", rather than accepting the paper as sufficient evidence[2].
Accepting Any Face-Like Watermark
The watermark is sometimes described loosely as a "president", which can cause a cashier to accept any portrait-shaped shadow. A genuine current or 1996-style $100 note should show Benjamin Franklin to the right of the printed portrait, visible from both sides when held to light[2]. We suggest comparing the watermark's identity and position, not merely checking that a pale face exists.
Conclusions
- Start with the physical note, not its photograph.
- Identify the design generation before comparing details; an older genuine $100 note may not carry the blue security ribbon[4][2].
- Match several independent features, including Franklin’s portrait watermark, the denomination-specific security thread, print detail, and tilt-responsive elements[2].
- Treat pens and paper texture as supporting checks only, because altered lower-denomination notes may still use genuine currency paper[6].
- If doubt remains at a Seattle till, keep the bill out of circulation, minimise handling, record the circumstances, and follow workplace procedures before contacting local law enforcement or the U.S. Secret Service.
Next, use Fake US Dollars: How to Spot Them to organise the same checks for other US denominations.
Straight answers
How to tell if hundred dollar bills are fake?
We check several independent features. Genuine note paper is 75 percent cotton and 25 percent linen, contains embedded red and blue fibres, and has slightly rough raised printing[5]. For current and 1996-style notes, hold the bill to light for the Franklin watermark and "USA 100" thread, then check the thread's pink ultraviolet glow[2].
What does a fake old $100 bill look like compared with a real one?
There is no single counterfeit appearance. We compare the note with the correct design family: a genuine 1996–2013-style bill should have raised printing, red and blue fibres, microprinting, a Franklin watermark, an embedded "USA 100" thread, and a lower-right numeral that shifts from green to black[3]. Genuine Series 1990 and 1993 notes lack the blue ribbon and portrait watermark but retain the "USA 100" thread and microprinted "THE UNITED STATES OF AMERICA" around Franklin's portrait frame[2].
How can you check a 2006 $100 bill?
Treat it as an older design. A Series 2006 or 2006A note belongs to the 1996–2013 design family, so the absence of a blue 3-D Security Ribbon is expected[2]. Before accepting it, check for raised printing, red and blue fibres, the Franklin watermark, the "USA 100" thread, microprinting, and a lower-right 100 that changes from green to black when tilted[3].
Links and references
- 1. Cash Assist Mobile App | U.S. Currency Education Program
- 2. $100 Note | U.S. Currency Education Program
- 3. Acceptance and Use of Older-Design Federal Reserve Notes | U.S. Currency Education Program
- 4. The Seven Denominations | U.S. Currency Education Program
- 5. Decoding Dollars: The $100 | U.S. Currency Education Program
- 6. Three Men Sentenced to Federal Prison for Their Roles in a Counterfeit Money Scheme | U.S. Department of Justice