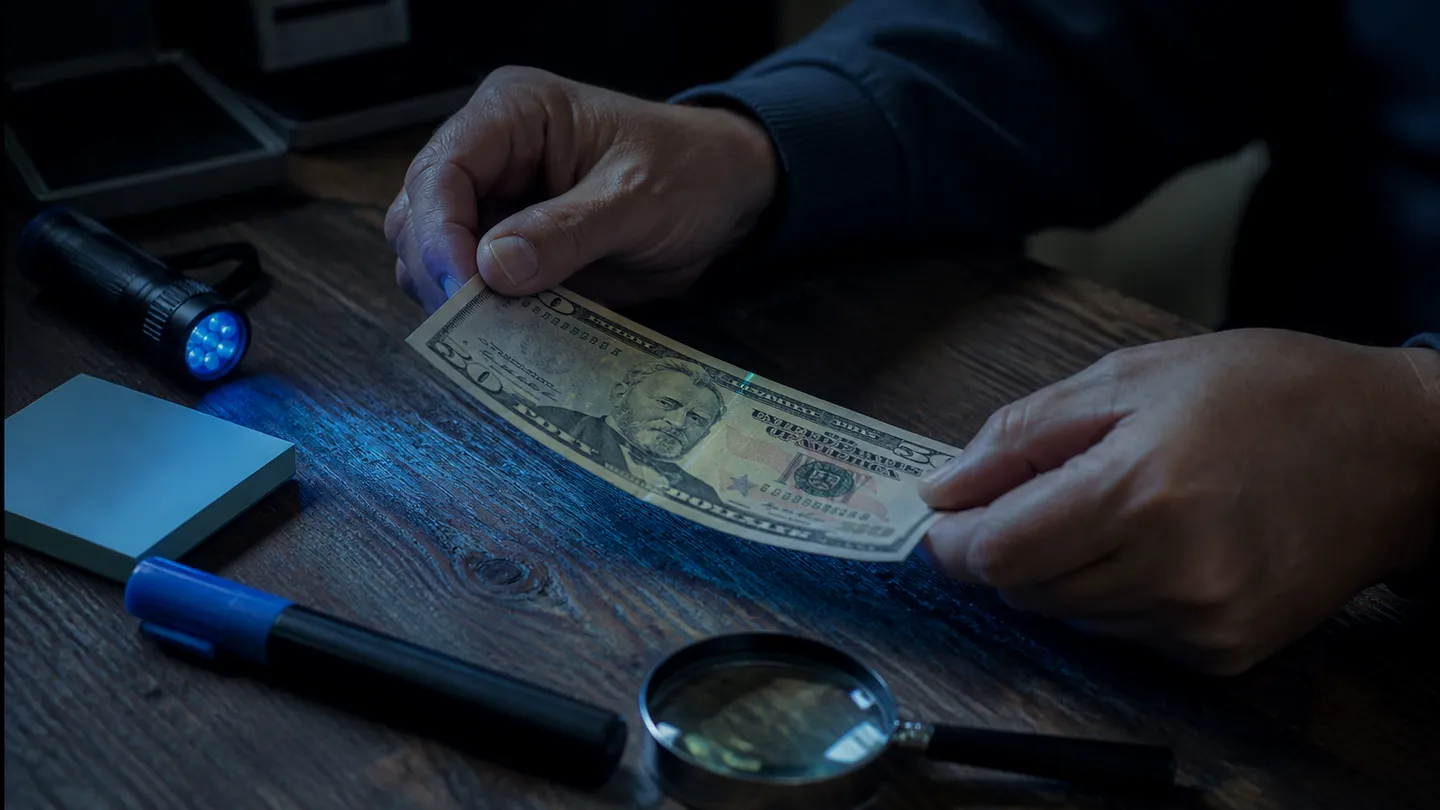
To spot a fake $100 bill, feel the paper, tilt the note, and hold it to light: genuine currency feels slightly rough, while the current design has a woven blue ribbon whose bells change to 100s and move opposite the tilt.[1][2] The watermark and "USA 100" thread should match the denomination; older genuine designs differ, so never rely on a detector pen alone.[2][3][2][4]
How to Check a $100 Bill in 30 Seconds
To quickly determine if a $100 bill is genuine, follow this four-step process. Each step focuses on different security features, ensuring you don’t rely solely on one sign.
First, feel the paper. Genuine currency is made of 75% cotton and 25% linen, giving it a slightly rough texture due to raised printing. If the bill feels smooth or unusually thin, it might be counterfeit[1].
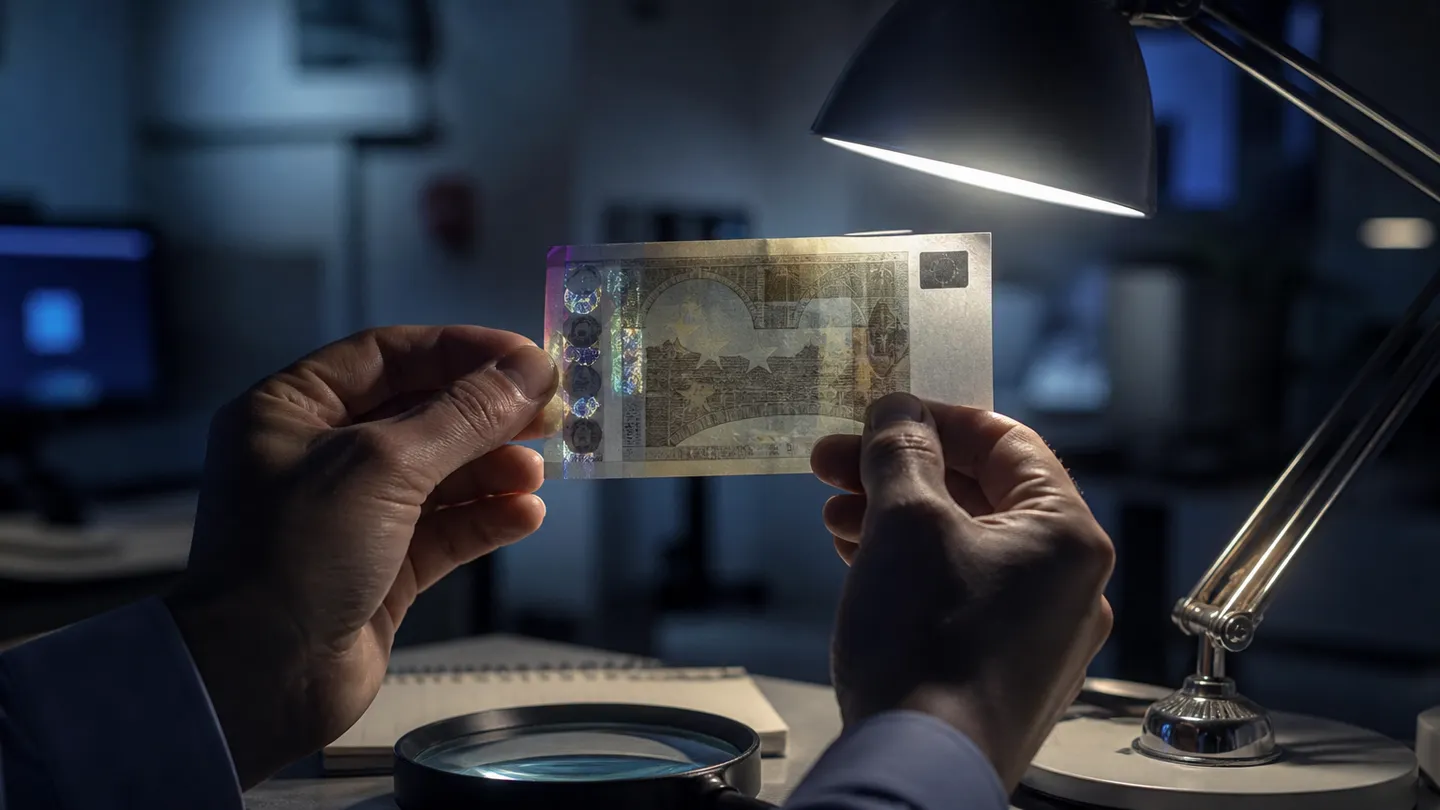
Next, tilt the note. On a current-design $100 bill, the blue 3-D Security Ribbon is woven into the paper. When you tilt the note, the bells on the ribbon should change to 100s and move in the opposite direction of the tilt[2]. Pay attention to the lower-right numeral "100," which should shift from copper to green[1].
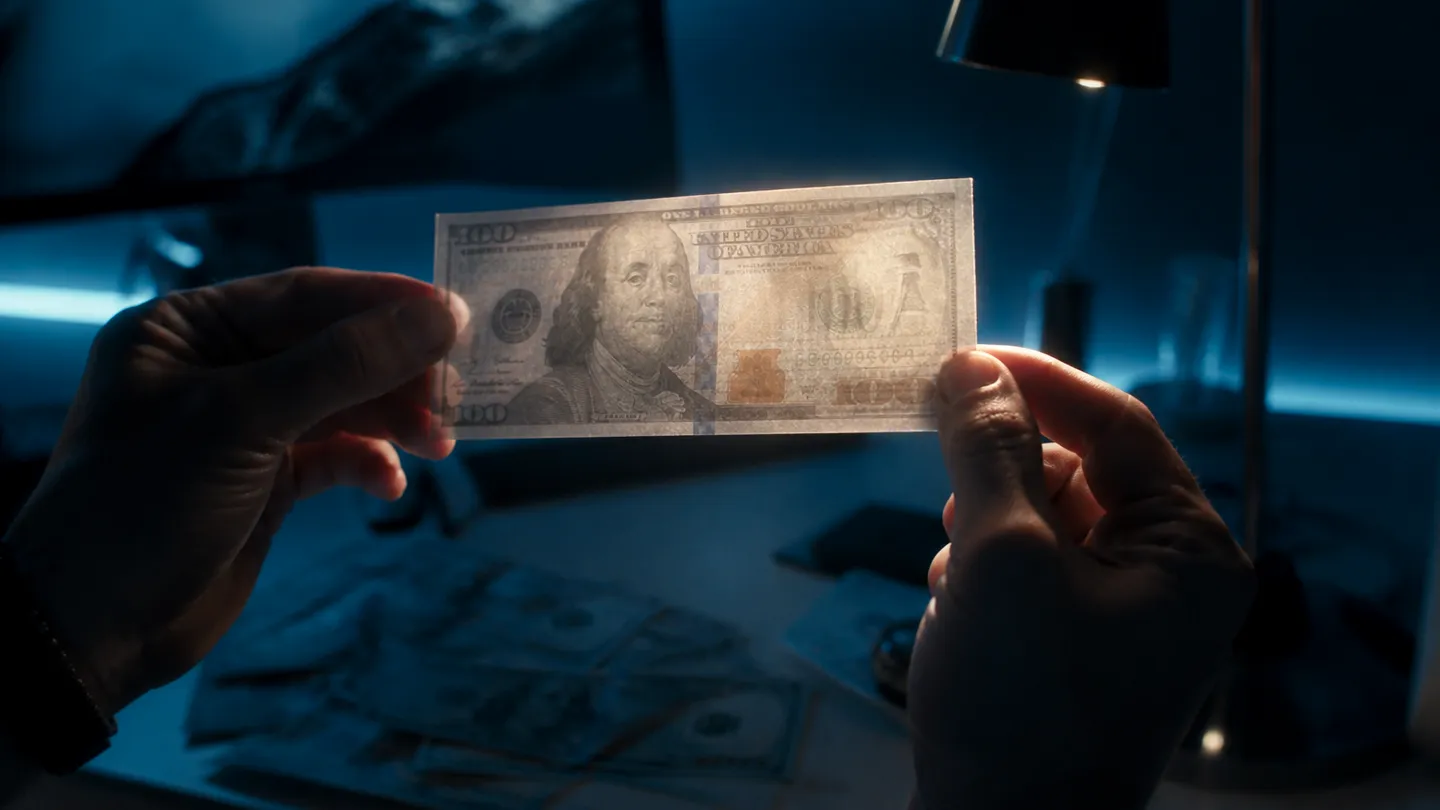
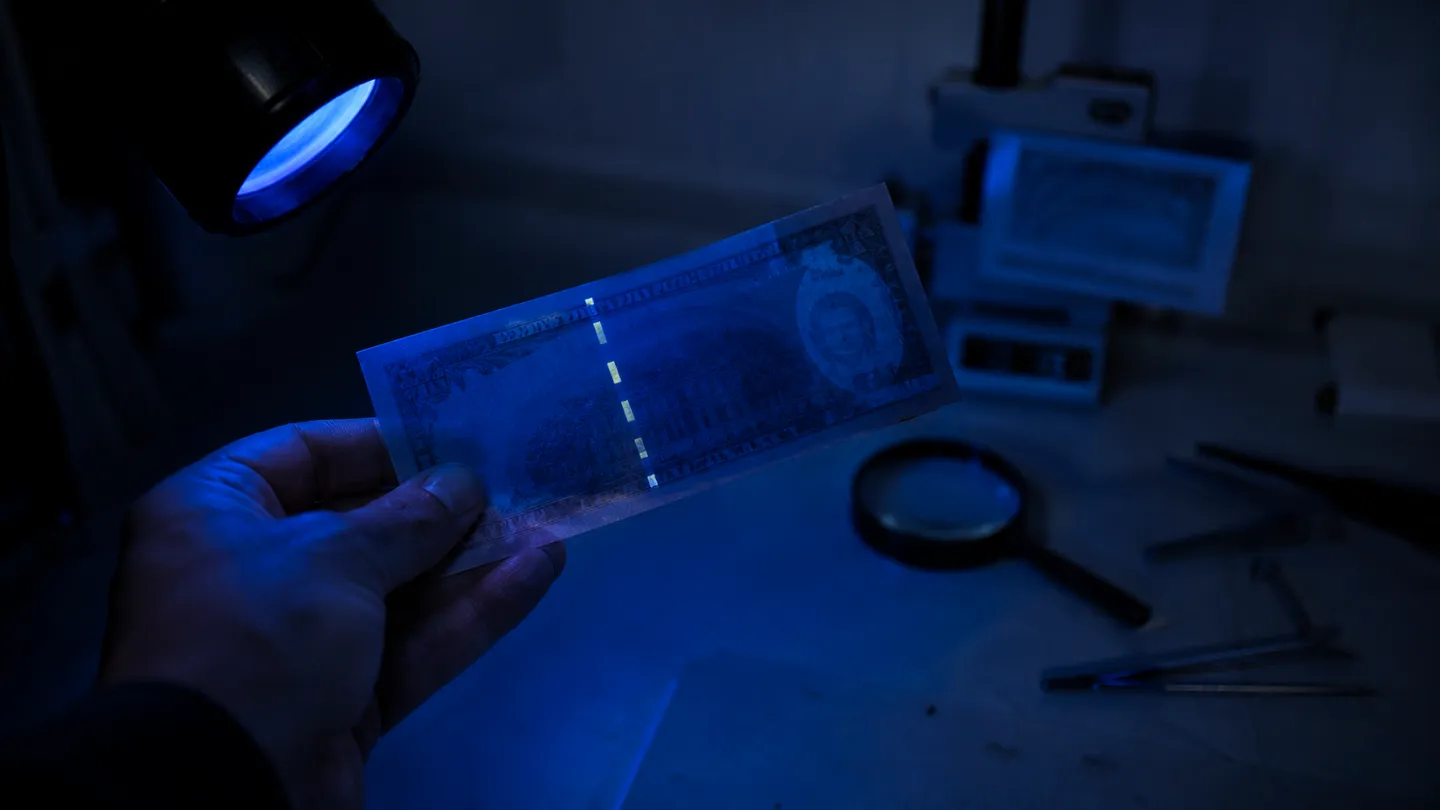
Then, hold it to light. Look for the embedded security thread to the left of Benjamin Franklin. It should read "USA 100" in an alternating pattern and glow pink under ultraviolet light[2]. Additionally, check for the portrait watermark of Franklin, visible from both sides when held up to the light[2].
Finally, compare it with a known genuine bill from the same design series. Look for microprinting in four areas: "THE UNITED STATES OF AMERICA" on Franklin's collar, "USA 100" around the watermark, "ONE HUNDRED USA" along the golden quill, and small 100s in the borders[2].
Pass/Suspicious Checklist
Pass:
- Feels slightly rough and thick
- 3-D Security Ribbon changes when tilted
- "USA 100" thread visible and glows pink
- Franklin's watermark is clear and visible
Suspicious:
- Smooth or thin paper
- Inconsistent colour shifts when tilted
- Missing or incorrect security thread
- Watermark shows a different portrait or denomination
If any features raise suspicion, take action. Keep the bill separate from genuine cash, note the details of the passer, and report to local authorities or the U.S. Secret Service[5].
Security Features on the Current $100 Bill
Security Features on the Current $100 Bill
The current design of the $100 bill, which entered circulation on October 8, 2013, incorporates several advanced security features to help authenticate its legitimacy. Understanding these features is crucial for anyone handling cash, especially employees who frequently accept larger denominations.
One of the standout elements is the blue 3-D Security Ribbon, which is woven into the paper rather than printed on its surface. When you tilt the bill, the bells on the ribbon shift to 100s and move in the opposite direction of the tilt, creating a dynamic visual effect[2]. This feature is not merely decorative; it serves as a clear indicator of authenticity.
Another significant security element is the Benjamin Franklin watermark, located to the right of the printed portrait. This watermark is visible from both sides when held up to light, and it must display Franklin's image, not another portrait or denomination, to ensure the bill's validity[2].
The embedded security thread is positioned to the left of Franklin and should read "USA 100" in an alternating pattern. This thread is visible from both sides and glows pink under ultraviolet light, providing an additional layer of verification[2].
Additionally, the bill features color-shifting ink on the lower-right numeral 100. When tilted, this numeral should change from copper to green, further confirming that the note is genuine[1].
Microprinting is also present in several areas of the bill, including "THE UNITED STATES OF AMERICA" on Franklin’s collar and "USA 100" around the watermark space. These tiny texts are difficult to replicate and are a strong indicator of authenticity[2].
Finally, the paper itself is made of a unique blend of 75% cotton and 25% linen, giving it a slightly rough texture due to the raised printing. This tactile quality can be felt when you run your fingers over the bill, distinguishing it from counterfeit notes that may feel smooth or flimsy[1].
By familiarising ourselves with these features and knowing what to look for when handling $100 bills, we can significantly reduce the risk of accepting counterfeit currency.
How to Tell if a $100 Bill Is Real With Light
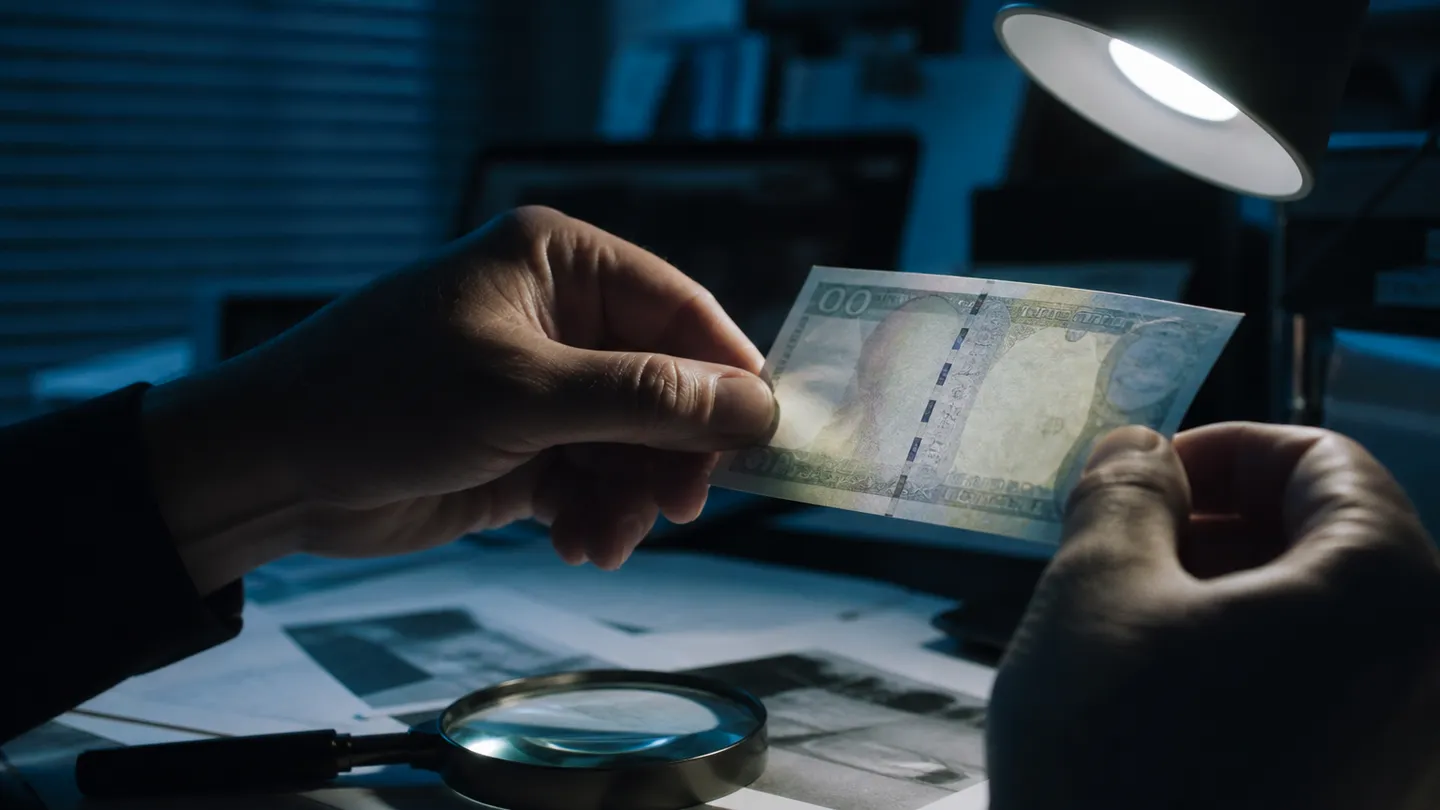
To determine if a $100 bill is genuine using light, focus on two key features: the Benjamin Franklin watermark and the embedded security thread. Both elements are essential for verification and should be visible from either side of the note when held up to the light.
The Franklin watermark is located to the right of the printed portrait. When you hold the bill up to the light, the watermark should clearly show Benjamin Franklin's image. If the watermark displays a different portrait or denomination, this is a strong indication that the bill is counterfeit[2].
Next, inspect the embedded security thread, which is positioned to the left of Franklin. This thread must read "USA 100" in an alternating pattern and should be visible from both sides of the note. When exposed to ultraviolet light, the thread glows pink, which is a definitive sign of authenticity[2]. If you find a printed imitation line, a watermark visible only on one side, or an incorrect denomination on the thread, these discrepancies are cause for suspicion.
Quick Checkpoints for Light Verification
- Watermark: Should show Benjamin Franklin and be visible from both sides.
- Security Thread: Must read "USA 100" and glow pink under ultraviolet light.
If either feature raises doubts, take further action. Genuine $100 bills, especially those from Series 2009 or Series 2009A, incorporate these security features to ensure their validity[2]. Always remember, relying solely on a counterfeit detector pen is not enough, as these tools can yield false results[4]. Familiarising ourselves with these light-based verification techniques can help us confidently identify real currency in everyday transactions.
How to Check Older $100 Bills by Design Series
How to Check Older $100 Bills by Design Series
To effectively check older $100 bills, we need to understand the various design series and their specific security features. Older notes may lack some of the advanced features found in the current design, so it’s essential to know what to look for. Below is a table summarising the key security features for different design series of the $100 bill.
| Design Series | Security Features |
|---|---|
| Current Design (2009, 2009A) | - 3-D Security Ribbon - Franklin Watermark - Embedded security thread "USA 100" - Color-shifting ink - Microprinting in various areas[2] |
| 1996–2013 Design | - Raised printing - Franklin Watermark - Embedded security thread "USA 100" - Color-shifting ink - Embedded red and blue fibers[3] |
| 1990–1996 Design | - Raised printing - Embedded security thread "USA 100" - Microprinting around the portrait[2] |
| Pre-1990 Notes | - Raised printing - Paper made of 75% cotton and 25% linen - Embedded red and blue fibers[2] |
Older genuine $100 bills may not include the blue 3-D Security Ribbon, the Bell in the Inkwell, the portrait watermark, or the colour-shifting numeral 100. For instance, the 1990 series lacks the watermark, which was introduced later, making it crucial to verify that the security thread reads "USA 100" and glows pink under UV light[2].
All designs of Federal Reserve notes, including older $100 bills, remain legal tender at face value[3]. However, we recommend seeking professional authentication for particularly old or collectible notes, as their value may exceed face value and require a more thorough examination to confirm authenticity. Familiarising ourselves with these features allows us to better handle cash transactions and reduces the risk of accepting counterfeit notes.
Real vs. Fake $100 Bill: Common Warning Signs
Real vs. Fake $100 Bill: Common Warning Signs
Identifying a counterfeit $100 bill involves examining several key features that distinguish genuine currency from suspicious notes. We need to focus on aspects such as paper texture, print sharpness, portrait detail, borders, seals, serial numbers, microprinting, and alignment.
The texture of the paper is a primary indicator. Genuine $100 bills are made from a blend of 75% cotton and 25% linen, resulting in a slightly rough feel due to raised printing[1]. Counterfeit notes often use flat or waxy paper, which lacks this tactile quality. When inspecting the bill, we should also pay attention to the print sharpness. Genuine notes feature crisp, clear details, while counterfeit notes may exhibit blurred fine lines, especially around intricate designs like the portrait of Benjamin Franklin.
Another critical aspect is the portrait detail. A genuine $100 bill will display a well-defined image of Franklin, whereas a counterfeit may have a poorly rendered portrait. Additionally, the borders of the bill should be sharp and distinct; any signs of fading or smudging can indicate a fake. The Federal Reserve seal and serial numbers should also be examined closely. Genuine notes have unique serial numbers that do not repeat on other notes, while counterfeit notes may exhibit identical serial numbers across multiple bills.
Microprinting is another security feature to consider. Genuine $100 bills contain microprinted text in several areas, such as "THE UNITED STATES OF AMERICA" on Franklin's collar and "USA 100" around the watermark space[2]. If we find misspellings or text that appears merely printed without the fine detail, this raises suspicion.
Finally, any bill marked with "Replica" or "For Motion Picture Use Only" is not real currency but rather novelty or prop money. This distinction is crucial, as such markings clearly identify the note as a non-genuine item.
By familiarising ourselves with these common warning signs, we can better protect ourselves from accepting counterfeit $100 bills in everyday transactions. If we encounter a note that raises doubts, it is wise to take appropriate action, such as reporting it to local authorities or the U.S. Secret Service[5].
Why Counterfeit Pens and Phone Checks Are Not Enough
Counterfeit detector pens are often seen as a quick solution to identifying fake bills, but their effectiveness is limited. These pens primarily react to starch found in ordinary paper, which means they can falsely indicate that a bill is genuine. In fact, a bleached genuine lower-denomination note, such as a $1 or $10 bill, could pass the pen test because its paper composition is authentic[6]. This highlights a critical flaw: a detector pen cannot authenticate the specific denomination or the unique security features printed on a $100 bill.
Relying solely on phone apps for verification can also lead to mistakes. While some applications can identify a bill's denomination and display its security features, they do not determine whether the note is counterfeit[4]. A photo of a bill may not capture the necessary details, and online serial-number searches can be misleading. Authenticating a bill requires a physical examination of its features, which cannot be substituted by digital methods.
When using ultraviolet (UV) light for verification, it is essential to check that the security thread, text, and glow colour are correct. For example, the embedded security thread in a genuine $100 bill should glow pink when exposed to UV light and read "USA 100" in an alternating pattern[2]. If the thread is not in the correct location or does not exhibit the expected glow, this raises a red flag. Moreover, other features like the Benjamin Franklin watermark and microprinting must also be checked to ensure authenticity[2].
To effectively spot counterfeit bills, we recommend familiarising ourselves with the comprehensive range of security features on genuine $100 notes, such as the 3-D Security Ribbon, raised printing, and the specific texture of the cotton-linen paper[1]. By relying on these physical checks rather than just counterfeit pens or phone checks, we can significantly reduce the risk of accepting fake currency.
Watch for Bleached and Altered-Denomination Bills
A significant risk in identifying counterfeit $100 bills arises from the practice of bleaching lower-denomination notes, such as $1 or $10 bills, and then printing a fake $100 design on the genuine currency paper. This means that a counterfeit note may appear authentic at first glance, but it does not possess the correct security features associated with a genuine $100 bill. To spot this type of counterfeit, we must closely compare the portrait and denomination with the embedded security thread and watermark.
When examining a supposed $100 bill, first check the security thread located to the left of Benjamin Franklin’s portrait. A genuine $100 note should have a thread that reads "USA 100" in an alternating pattern and glows pink under ultraviolet light[2]. If the thread indicates a different denomination, such as "USA 5," this is a clear indication of alteration. Additionally, the watermark should display Benjamin Franklin’s image, visible from both sides when held up to the light[2]. Any other portrait or denomination in the watermark is a strong warning sign of a counterfeit.
It's essential to note that simply relying on the feel of the paper or using a counterfeit detector pen may not expose these altered notes. While genuine currency paper is comprised of 75% cotton and 25% linen and has a slightly rough texture due to raised printing[1], counterfeit notes can mimic this feel. Moreover, as documented in a case by the U.S. Secret Service, some counterfeiters successfully used bleached notes to create fake higher-denomination bills without being detected by standard methods[6].
To ensure accuracy, we should always verify multiple security features, including the microprinting found on genuine notes, such as "THE UNITED STATES OF AMERICA" on Franklin's collar and "USA 100" around the watermark space[2]. By familiarising ourselves with these details and performing thorough checks, we can better protect ourselves from accepting counterfeit currency.
What to Do If You Suspect a Counterfeit $100 Bill
If you suspect that a $100 bill is counterfeit, the first step is to refrain from spending, returning, or knowingly passing the note. It's crucial not to put yourself at risk by confronting anyone who may have passed you the suspicious bill. The U.S. Secret Service provides clear guidance on how to handle such situations safely and effectively.
Begin by limiting your handling of the suspected counterfeit bill. Place it in a protective cover to prevent further contact and to preserve potential evidence. Record all relevant details about the transaction, such as the time, location, and any descriptions of the individual who passed the bill, including their vehicle if possible. This information can be invaluable for law enforcement.
Next, contact local police or the nearest Secret Service field office to report the incident. They are equipped to handle counterfeit currency cases and will provide further instructions. Be aware that the suspected currency may be retained for examination, and there is no guarantee of reimbursement for the bill, as it will undergo a verification process.
In summary, if you encounter a suspected counterfeit $100 bill, do not attempt to pass it, keep it separate from genuine currency, and report it to the appropriate authorities. Following these steps not only protects you but also aids in the fight against counterfeit currency. Remember, 18 U.S.C. §472 stipulates that passing or possessing counterfeit currency with intent to defraud can lead to severe penalties, including fines and imprisonment of up to 20 years[5].
Security Features of $100 Bills by Design Era
| Design Era | Key Features Present | Key Features Absent | Notes |
|---|---|---|---|
| Current (2013) | 3-D Security Ribbon, Watermark, Microprinting | None | Series 2009 or 2009A only |
| 1996–2013 | Raised Printing, Watermark, Security Thread, Microprinting | 3-D Security Ribbon | Check for 'USA 100' thread |
| 1990–1996 | Security Thread, Microprinting | Watermark, 3-D Security Ribbon | Thread glows pink under UV light |
| Pre-1990 | Raised Printing, Security Thread, Microprinting | Watermark, 3-D Security Ribbon | Thread must glow pink under UV light |
Common Mistakes and Misconceptions
Expecting the current design to show a 2013 series year
The date can mislead. Because the current design entered circulation on October 8, 2013, we may expect "Series 2013" on a genuine bill[2]. In fact, authentic notes of this design carry Series 2009 or Series 2009A, so that apparent date mismatch is not evidence of counterfeiting[2].
Looking for current features on every older bill
Security features vary by design. The blue ribbon belongs to the current note, while the 1996–2013 design family uses a Franklin watermark and "USA 100" security thread without that ribbon[2][3]. Series 1990 and 1993 notes have the thread and microprinting but predate portrait watermarks, while earlier designs require checks focused on raised printing, currency paper, embedded fibres, and the expected artwork[2].
Assuming ultraviolet light is required
UV is optional. On a current or 1996-style note, we can hold the bill to ordinary light and look for a thread to Franklin's left that reads "USA 100" and appears from both sides[2]. The pink UV glow is an additional check, not a reason to skip inspection when no lamp is available[2].
Starting with tiny print instead of a quick routine
Small details can wait. Microprinting may appear authoritative, but starting there can distract us from faster checks that use different parts of the note. Before accepting a bill, we suggest this order:
- Feel: check for slightly rough paper and raised printing[1].
- Tilt: look for the movement and colour changes expected for that design era[2][1][3].
- Use light: check the watermark and matching "USA 100" thread where that design should have them[2][3].
If one stage raises concern, we should pause the transaction and compare the bill with the correct design family rather than relying on a single feature.
Treating any blue stripe as a genuine security ribbon
Blue colour alone proves little. On a current-design note, the ribbon is woven into the paper, and tilting it makes bells change to 100s while the images move opposite to the direction of the tilt[2]. We should check that movement and construction rather than accepting a flat printed stripe as sufficient evidence.
Conclusions
Keep the check simple.
- Start with feel, tilt, and light: examine the paper, raised printing, moving elements, watermark, and embedded security thread[1][2].
- Match features to the design era: an older genuine $100 bill may lack the blue ribbon or Franklin watermark found on newer designs[3][2].
- Never trust one result: pens, phone apps, serial-number searches, and paper texture cannot authenticate the denomination by themselves[4][6].
- Pause when details conflict: keep the note separate, avoid passing it onwards, record the transaction, and contact local police or the U.S. Secret Service[5].
Next, use Fake US Dollars: How to Spot Them to apply the same checks across other U.S. denominations.
Links and references
- 1. Decoding Dollars: The $100
- 2. $100 Bill
- 3. Acceptance and Use of Older-Design Federal Reserve Notes
- 4. Currency and Coin Frequently Asked Questions
- 5. 18 USC 472: Uttering Counterfeit Obligations or Securities
- 6. Florence Resident Pleads Guilty in Federal Court to Manufacturing and Passing Counterfeit Money